Monday, December 21, 2015

Aluminum Rose w/ stem Project

Aluminum Rose Project


Question: What is an aluminum rose exactly? How is it created?


Josh: An aluminum rose is a replication of an actual rose created using aluminum cans!


Question: What materials and tools will I need?


Josh: For this DIY project you're going to need only a few materials and tools that can be required at any local convenience store. For materials you're going to need aluminum soda cans, tin foil, and a wooden stick (or any thin stick that is sturdy). And as for tools you're going to need a scissor, and glue gun. 


Question: How do I get started in creating my aluminum rose? 


Josh: First you want to gather your cans, pour all of the beverage out of the can, and later rinse the cans making sure the can is completely clean.


Question: How do I continue on to cutting the cans in order to start forming the aluminum rose pedals?


Josh: To begin you start cutting along the middle of the can with your scissor all the way across, essentially cutting the can completely in half. Repeat this same process until all the cans are cut in half as depicted in the picture above.


Question: After cutting all the cans in half, what do I do to continue on to make my rose pedals for my aluminum rose? 


Josh: You then cut the top and bottom parts off of each can for they would not be needed for the project. After completing that you can then cut the middle part of the can in half creating a strip of aluminum. 


Question: What shape do I cut the rose peddles in order to achieve a good looking aluminum rose bud?


Josh: Out of the aluminum strip you earlier created out of the aluminum you then will cut a circle with slits in three or more sides in order to achieve the affect of an actual rose pedal. Repeat this same process 3 times and another 3 more times with 3 small circles to better close in the rose bud when formed. Also make sure you cut a hole out in the middle of each pedal as that will be the place where the stem will later go in through and hold all the pedals in place.


Question: How do I get my pedals to look more three dimensional and less flat? 


 Josh: With the slits created you will need at least one slit to go down into the center meeting the hole you created for the stem and pull both ends of the slit closer together causing them to overlap and form the three dimensional affect of the pedal. Then secure the pedal with glue using a hot glue gun or any strong glue that will hold well.


Question: How do I create the stem?

 Josh: It's very simple to create the stem and really all you need to do is cover the wooden stick or whatever stick you are using for the stem and cover it in tin foil and you're done. 


Question: How do I form the rose bud with the peddles and keep them secure?


Josh: With the wooden stick that you covered in aluminum foil you thread it through each pedal leaving excess wood on the top that you will then place an aluminum foil ball on to secure the pedals in place and prevent the stick or pedals from moving. And with that final step you're done and successfully created a rose made completely out of aluminum! 


Question: Are there any alternatives to using cans? 


Josh: Yes there is! Really you can use any object that is made up of aluminum with some being even easier to cut and manage like this aluminum lid I found laying around my house :)


Sunday, November 8, 2015

Penny Battery Experiment


Penny Battery 

Question: What is a penny battery? 


Josh: That is a penny battery which consists of  6/7 different materials potentially giving you enough energy to power a led. 


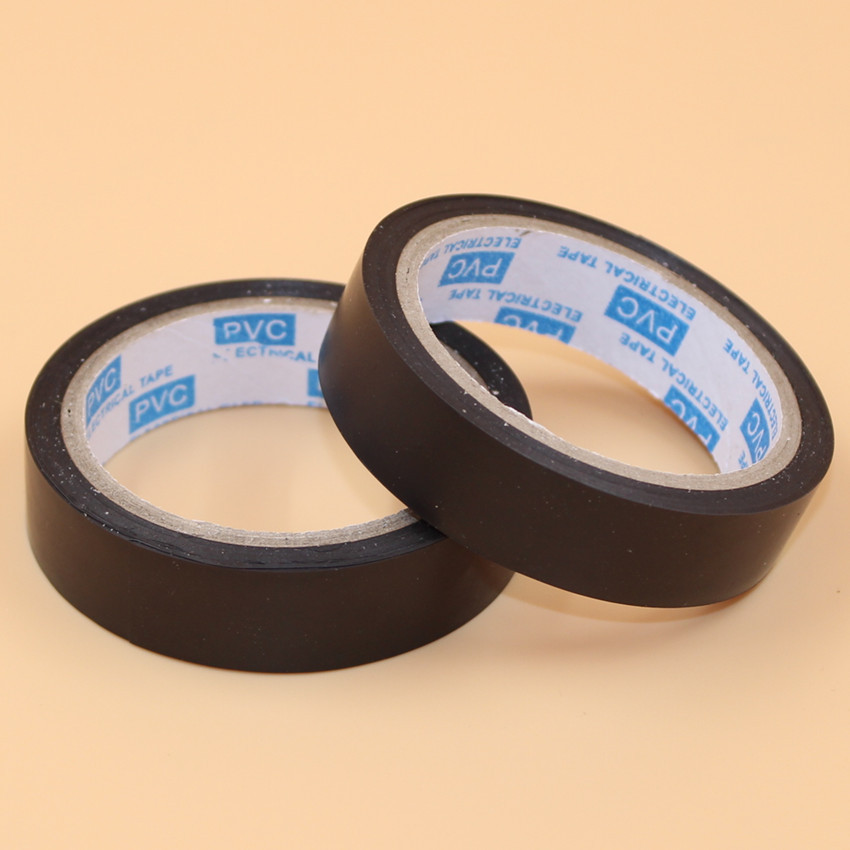
Question: What materials are needed to assemble the penny battery?


Josh: To assemble the penny battery you will need cardboard, vinegar, tinfoil, electrical tape, pennies and a led to test the functionality of the battery. 

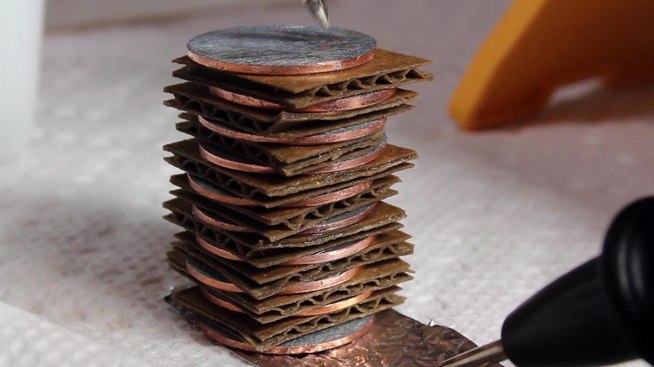
Question: How is it assembled? 


Josh: You first need to cut out a small rectangular piece of tinfoil, then place a penny on top of that piece of tinfoil, and after place a square piece of cardboard about the size of the penny dipped in vinegar on top of that. That is one cell and to create more cells you keep on repeating the steps creating more cells and voltage(power).

Question: Anything more I have to do to the pennies before assembling the penny battery? 


Josh: Yes, you have to expose the zinc on one side of the penny by scraping it away with either a sheet of sandpaper or a metal file. 

Question: Do the pennies have to be from a certain year? 


Hand holding two U.S. pennies - PM Images/Photographer's Choice/Getty Images


Josh: The pennies do need to be dated after the year 1982 which contain more than 97% zinc as opposed to the pennies made before that year which were made of almost entirely copper. 


Question: Why is it necessary for the pennies to contain zinc rather than copper? 


Josh: Zinc provides the power to drive the reaction within the battery providing two electrons to carry charge that contains a good amount of voltage when combined in cells as opposed to copper which isn't. 


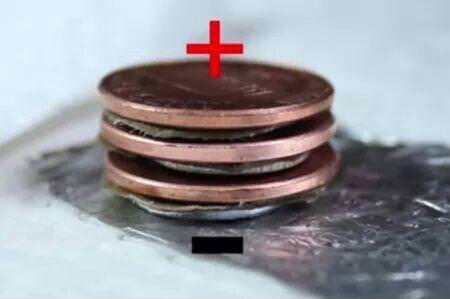
Question: How much voltage can you get from the penny battery?


Josh: That all depends on how many cells you create within the penny battery but in this picture I demonstrate how you can get enough voltage to power a small led light. Which takes just about 5 cells or 5 volts which is more than enough volts to power and led for sometime.


Question:  How do I place my led to check is my penny battery is functional?


 Josh: The top of the penny is the positive side and the tinfoil piece is the negative. Make sure both ends of the led are corresponding to that. Then use electrical tape to hold the penny battery together and making sure it's airtight preventing the vinegar from drying out too fast.


Question: How does the vinegar help the penny battery? 


Josh: The vinegar in the cardboard pieces are used to help sustain the energy throughout the different cells causing the penny battery last longer. 

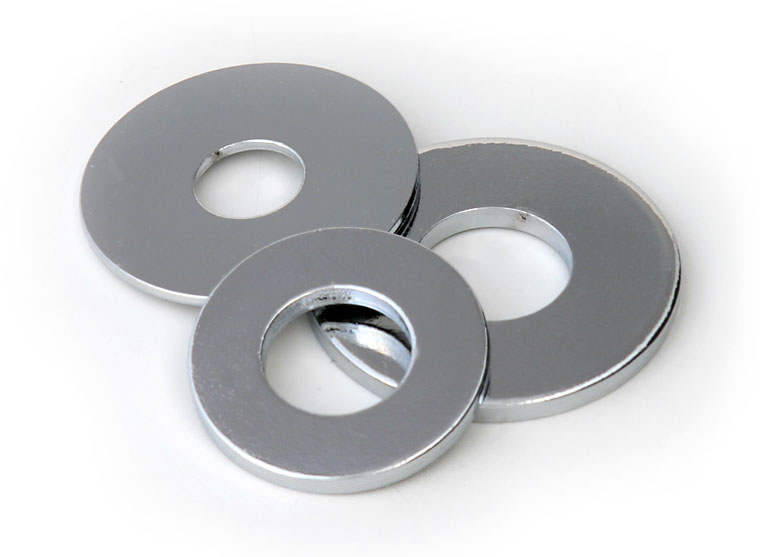
Question: Are there any alternatives in making the penny battery? 


Josh: Yes, instead of scraping off one side of the penny exposing the zinc you can use zinc washers saving you a lot of time. It will then be assembled with the washer first, cardboard dipped in vinegar second and the penny last.


Penny Battery Diagram (Circuit Symbols)             


source: https://upload.wikimedia.org/wikipedia/commons/thumb/0/06/Voltaic_pile.svg/2000px-Voltaic_pile.svg.png


Penny Battery Schematic Diagram