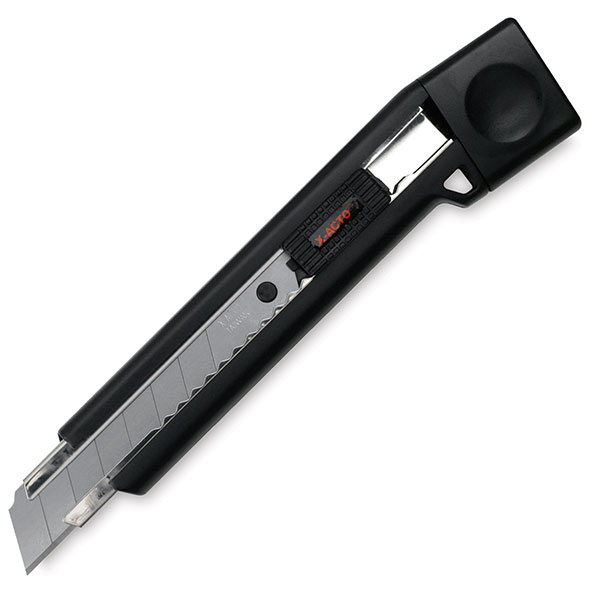
What tools would I need to completely assemble a skateboard?
photo creds to all pics: allsessentialltools.com
Joshua: To efficiently assemble a skateboard you're going to need a t-tool, star head screw driver (or allen key depending on which bolts you have) , blade and filer.
What materials will I need to assemble the skateboard?
Joshua: To fully assemble your skateboard you're going to need a skateboard deck, wheels, trucks, bearings, hardware(nuts and bolts), and grip tape for your deck.
Are the sizes of the materials important to the assembly of the skateboard?
 |
| photo cred: http://www.boardpusher.com/userimages/shopimages/653_SK8Sizes%20copy.jpg |
Joshua: You essentially can use whatever size bored you want but your choices should be narrowed down according to your shoe size. Wheels can also come in different sizes and even different densities with some being softer than others for different terrains. Same goes for trucks with it all coming down to personal preference.
What is the first step I take to assembling the skateboard now that I've gathered all my materials and tools needed?
 |
| photo cred: http://www.skateshop.ie/oldsite/images/put_on_grip_8.jpg |
Joshua: Your first step will be to apply the grip tape onto the top of the deck making sure you leave no air bubbles. Then use your filer to scrap the edges of the board giving you an outline of where to cut. Once you have the outline of where to cut you then begin to cut along the edges of the board making sure you're cutting along the sides at a 45 degree angle. Once you finished cutting off the excess grip you then use that exact same grip to sand the edges of the board (this prevents the grip from rising up). Your final step in gripping the deck is to poke out the 8 holes on the deck with your bolts making them accessible.
After I finished gripping my skateboard deck what is next?
 |
| photo creds: http://f.tqn.com/y/skateboard/1/S/L/E/WorkTrucksReplace.gif |
Joshua: After you're finished completely gripping your board you will begin to attach the trucks to the deck using your hardware. Use the long end of your t-tool to grip the nut and either and allen key or starhead screwdriver on the bolt to screw in the bolts. Make sure that all 8 bolts and nuts are screwed on tightly to prevent injury. Make sure both kingpins of the truck are facing the center of the board as installing it the other way can result in serious injury!
I've installed the trucks onto the deck, what's next?
 |
| photo creds: http://f.tqn.com/y/skateboard/1/S/n/D/WorkWheelPry.gif |
Joshua: You then install all eight bearings onto the wheels (2 bearings for each wheel). You can use your truck to easily install bearings to all the wheels by placing the bearing through the axle and pressing the wheel hard towards the center of the axle. Repeat process until all eight bearing are installed to all four wheels.
I've successfully installed the bearings, what's the next step?
 |
photo creds: http://skateparkoftampa.com/spot/productimages/colors/5_54574.jpg
|
Joshua: Once you've successfully installed the bearings into the wheels you will then need to install the wheels onto the trucks. The wheels don't need to be facing a certain direction but note that the bearings do for not correctly placing them can shorten the lifespan of your bearings. Make sure your bearings are installed with the rubber bearing guards facing outward. Use the right end of your t-tool to screw on the bolts securing every wheel onto each axle end of both trucks.
The wheels are installed, what now?
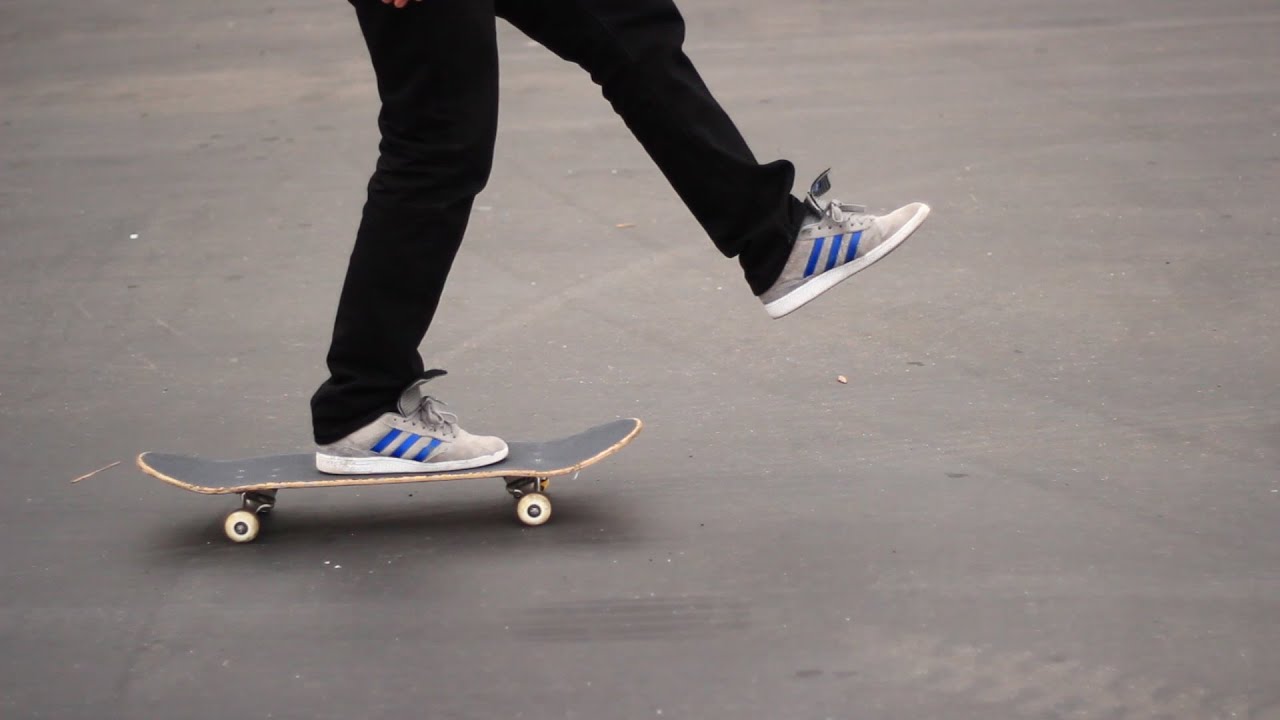 |
| photo creds: https://i.ytimg.com/vi/p3NXd3DhH08/maxresdefault.jpg |
Joshua: If you followed every step correctly you should have a fully functional skateboard ready to be used and some fun to be had!
How do I adjust the looseness and tightness of my trucks?
 |
| photo creds: https://longboardsusa.files.wordpress.com/2014/11/skateboard-trucks.jpg |
Joshua: Using the left end of your t-tool you can adjust the tightness of your bolt on your kingpin. The tighter you adjust the bolt the harder it will be to turn, and the looser you allow the bolt to become the easier it is to turn. Of course you shouldn't tighten it too much or too little but again it's all personal preference.
Any tips on preserving my skateboard to maximize the lifespan?
 |
| photo creds: https://media1.giphy.com/media/rO8k8Y5iMZQ8E/200_s.gif |
Joshua: If you really want to expand the life of your skateboard I would suggest not skating during any unsuitable weather conditions such as rain or snow. The water can cause the wood to soften making it more liable to snapping and also cause rust to the trucks and bearings. I also found that loosing the bolts on your trucks just enough to allow the axle to not be exposed by having the bolt surrounding it prevents the axles from getting stripped quickly. When you have a stripped axle it's almost impossible to install any bolt back on unless you have a re-threader tool and that can always be a hassle to find. I hope this helps!


